
After flying a quarter of the globe and finally making it to Germany, is your first week a total mess? Here’s a quick look at what needs to be handled first.
✨ Intro#
During the first two weeks after arriving in Germany, the most important thing is to finish all the basic administrative procedures first. This post organizes the things exchange students should prioritize after arrival, and hopefully helps you settle into life in Germany more smoothly.
👉 Related reading (still being written and will be updated later):
- 🏠 Daily Life Guide (mobile plan, online banking account, monthly transport pass, daily shopping, etc.)
- 🎓 TUM School Guide (a timeline specifically for Technical University of Munich)
🗂️ Administrative Matters#
Registration, activating public insurance, and activating your blocked account are the three most important administrative tasks during the first one to two weeks after arriving in Germany. I was pretty confused about the order at first, but in practice, there isn’t a strict dependency between them, so you can do them in parallel.
When preparing documents, you usually need these basic conditions first: a German phone number, a German address, a bank account, and of course the fact that you have officially arrived in Germany. For getting a German phone number and bank account, you can refer to the Daily Life Guide.
1. Landing Insurance#
Do you remember the “landing insurance certificate” included in your Expatrio Value Package when you applied for it? This document is also one of the required materials for your student visa application, and you can think of it as a kind of short-term transition health insurance.
This insurance automatically becomes active based on the arrival date you entered in Expatrio, so you do not need to activate it manually.
Arrive in Germany
March 11
Your landing insurance becomes active automatically.
After you complete school enrollment and activate public health insurance, the landing insurance will automatically switch over to public insurance.
2. Registration (Anmeldung) & Broadcasting Fee#
What people usually call Anmeldung basically means residence registration, and it’s something you should do as soon as you arrive in Germany.
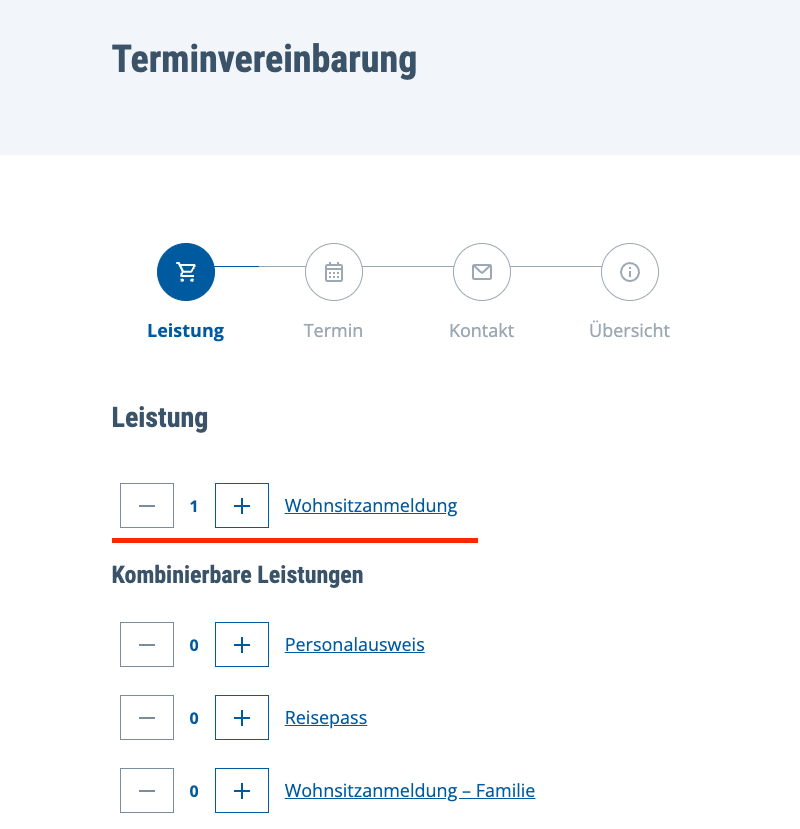
A. Book an Appointment (Termin):#
I’d recommend booking your Anmeldung appointment early. Under German regulations, you’re supposed to complete registration within two weeks after arrival, but appointment slots are limited and often hard to get. So people usually start refreshing for appointment slots online one to two weeks before move-in. If you’ll move into student housing right after arriving in Germany, then you can book it while still in Taiwan (and even if you go a bit over the two-week window, it usually won’t be a big deal XD).
Book your Anmeldung appointment online
March 9
You don’t have to book it as early as I did. Usually one to two weeks before move-in is enough. I personally booked mine for April 8.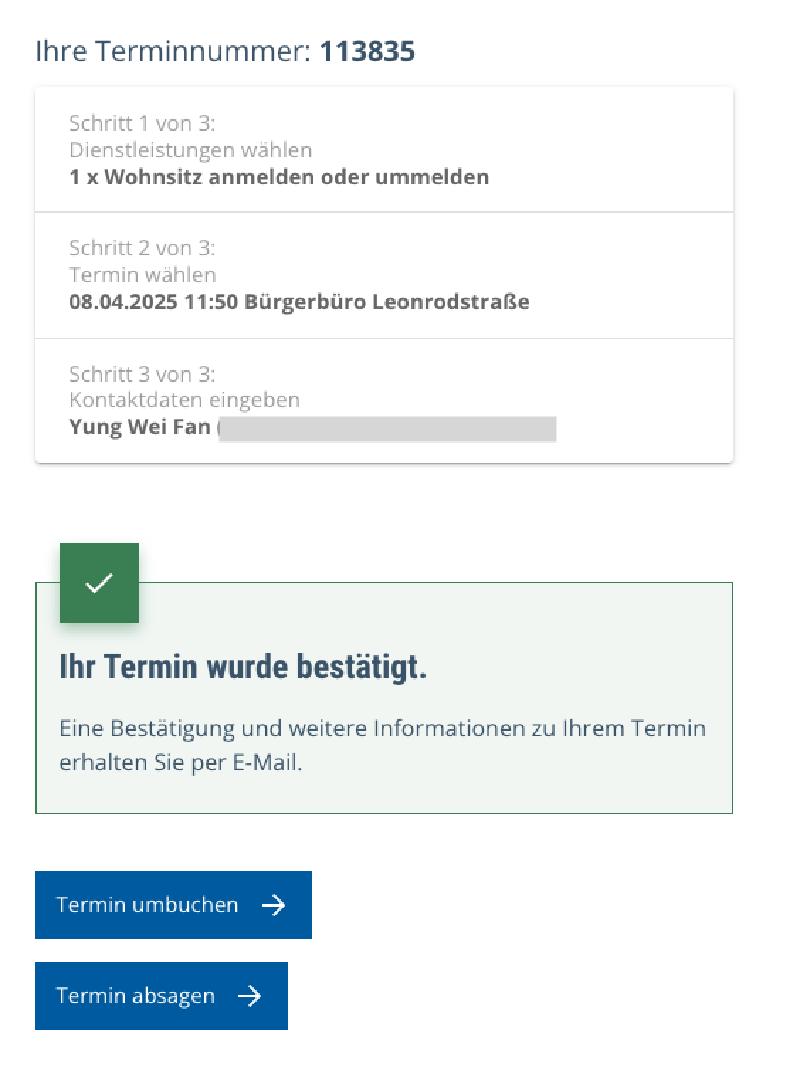
▲ Successful booking screen
👉 Munich registration appointment page
Please note that you need to switch the website to the German interface, otherwise the booking button will not show up at all (and yes, this was still true in 2026, sigh).
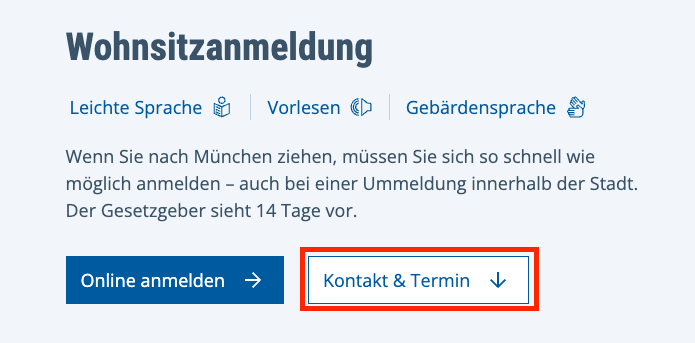
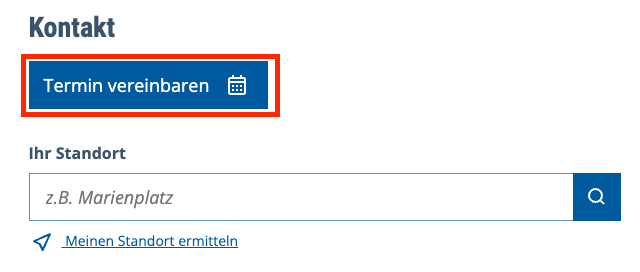
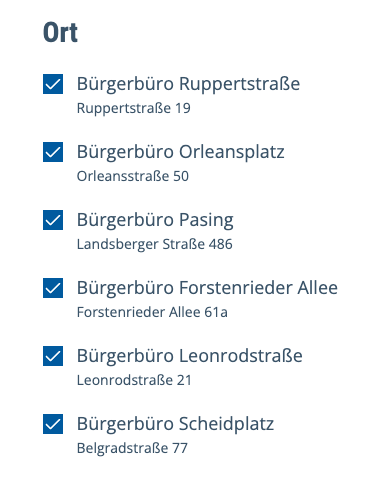
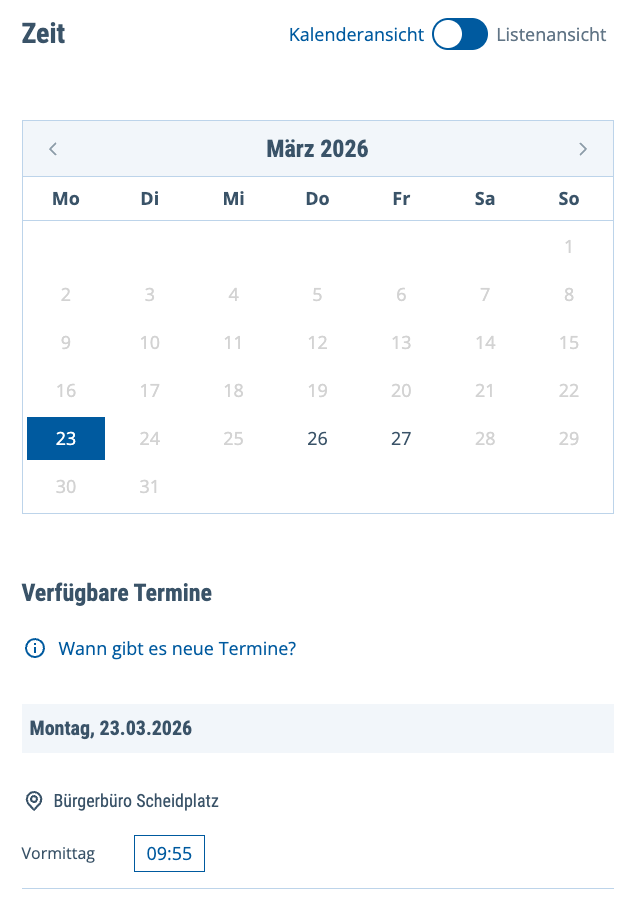
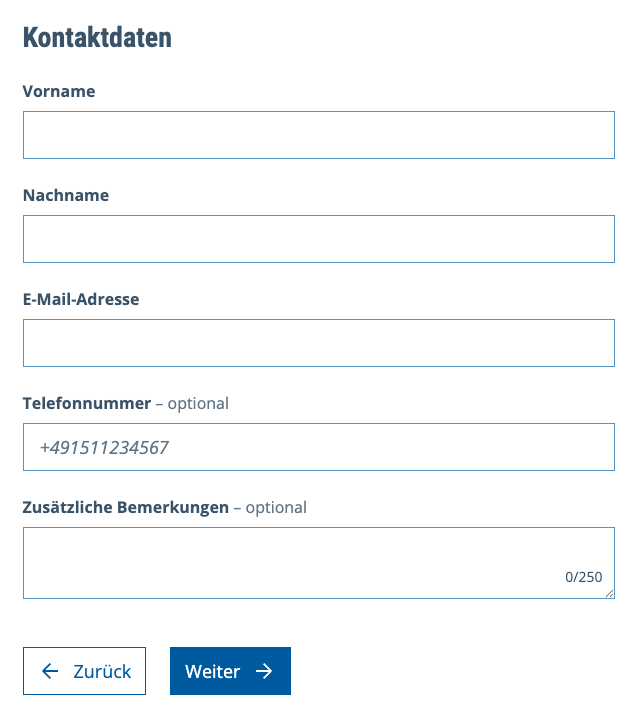
For the appointment type, choose Wohnsitzanmeldung, then select your time and location, fill in your contact information, and submit.
B. Required Documents & What the Process Was Like:#
- Passport
- Wohnungsgeberbestätigung (confirmation from the housing provider)
- Note that this is not the Tenancy Agreement you received earlier.
- If you rent privately, you can ask your landlord for it. In my case, the dorm sent this document the day before move-in. I downloaded it on my phone and then printed it at dm.
Meldeschein (registration form)- I printed and brought it with me in advance too, but it turned out I didn’t actually need it. The staff just asked the relevant questions verbally and filled it out for me.
Received the dorm's housing confirmation document
March 31
Wohnungsgeberbestätigung, which basically means a housing confirmation document, is one of the required documents for registration.
▲ Housing confirmation document (Wohnungsgeberbestätigung) Dorm move-in date
April 1
This was the earliest move-in date for my dorm, but I was actually in Greece at the time, so I asked another exchange student friend to help me pick up the key XD.Go register in person
April 8
I arrived around twenty minutes early and waited for my number to be called (your booking confirmation email includes the number). The whole process only took around ten minutes, and the staff could communicate in English, so overall it went pretty smoothly.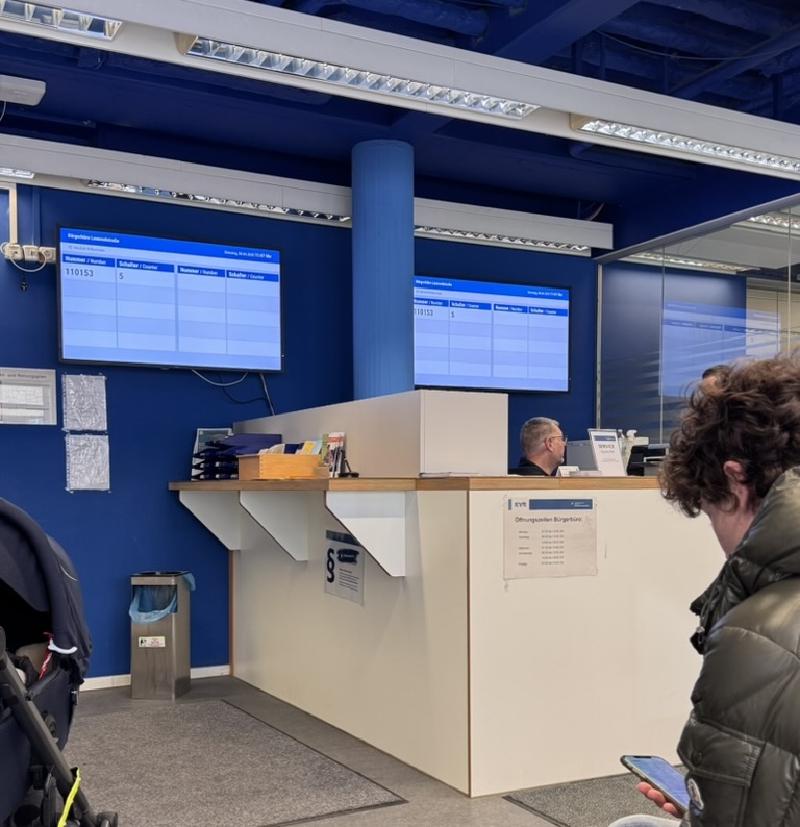
▲ Waiting on site at Bürgerbüro Leonrodstraße
Follow-up 1: Tax ID#
After you finish registration, you’ll receive a letter after a while containing your tax ID (Identifikationsnummer, IdNr).
Once you receive it, remember to manually add it to both Revolut and the Expatrio App:
- Revolut: Go to Account → Personal details → Additional information, find the Tax residency section, and edit your IdNr to add your German tax ID.
- Expatrio: Go to Personal Data, and add a new German tax ID entry below your original Taiwan tax ID.
Received the letter containing my tax ID
April 21

▲ Physical tax ID letter
Follow-up 2: Broadcasting Fee#
After that, you’ll receive a payment notice for the broadcasting fee (Rundfunkbeitrag).
Since my dorm was a WG (shared apartment), only one roommate needed to pay the broadcasting fee for the whole apartment, so once we split it, the cost per person was actually quite low. In my case, in an 8-person WG, it worked out to around only 8 euros per person every three months (paid to the person handling it).
Usually the earliest person to move in becomes the one who pays. If you move in later, then after receiving the letter, you just need to go online and declare that someone in the WG is already paying for it.
The top right corner of the letter shows the case number (Aktenzeichen), and you also need to get the contribution number (Beitragsnummer) from the roommate who is paying. After that, you can scan the QR code on the letter to enter the official broadcasting fee website, then follow this tutorial to finish the declaration.
Received the broadcasting fee notice
Early May
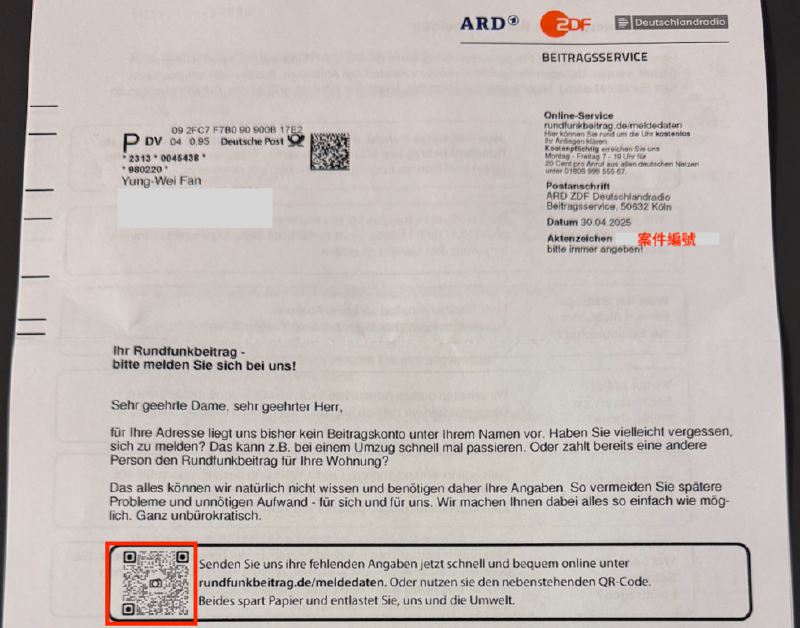
▲ Physical broadcasting fee letter
3. Activate Your Blocked Account#
This is also something you should finish as soon as possible after arriving in Germany, since your living expenses for the next seven months are all sitting in this account. At first I thought I had to complete Anmeldung before activating it, but in reality, all you need is a German phone number, a bank account, and a German address.
One thing worth noting is that Expatrio also provides its own bank account option, so whether to use it depends on your own needs. I personally chose Revolut because it was more convenient for transferring money with friends.
A. Prepare These First:#
- Expatrio mobile app: for identity verification
- Passport & visa
- German phone number: I used Fraenk
- Online bank account IBAN: I used Revolut
- German address: it’s enough to prepare relevant proof for your dorm address. After registration, you’ll need to add your tax ID within three months in the app.
B. Online Activation Process:#
You have to activate your blocked account through the Expatrio mobile app. First, you need to upload a scan of your visa, and then complete a live identity verification (similar to activating Revolut), so it’s best to do this during their working hours.
After the verification is completed, the app usually shows successful activation within a few minutes. Expatrio will give you a dedicated bank account number (IBAN), and you can decide whether you want to use it. You can also manually enter your own bank account IBAN and transfer amount in the Expatrio App, or set it as the default receiving account. After I finished setting it up, every later payout was automatically sent to Revolut.
Upload the required documents for Expatrio blocked account activation
April 8
After uploading the documents, I realized it wasn’t during live verification hours, so I had to wait until the next workday to continue XD.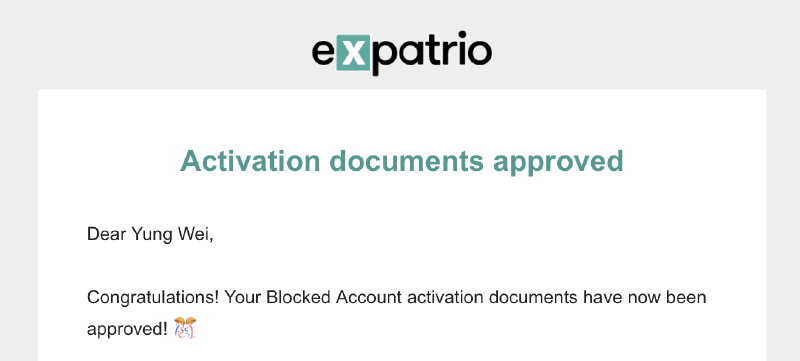
▲ Document review passed notification Live agent verification
April 9
For the live verification, you need your passport and the documents above, and you can choose service in English. The staff sounded pretty dead inside and talked fast, but as long as you just follow the instructions, show your passport, read out your number and birthday, and so on, it’s fine. The whole process took around five minutes.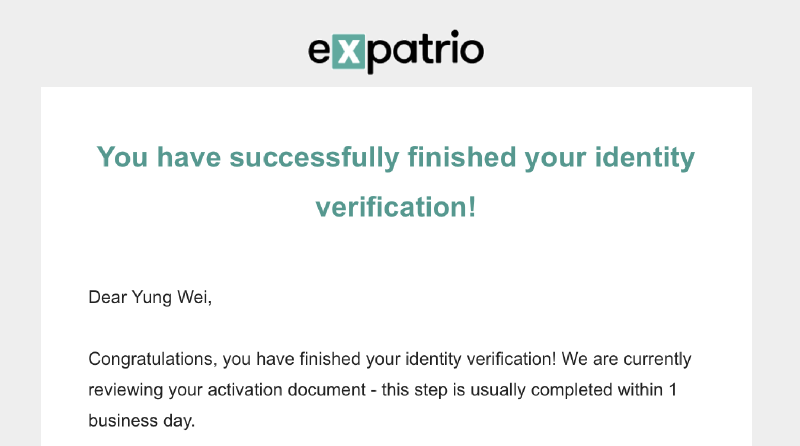
▲ Verification approved notification First €992 payout received
April 9
The actual transfer was quite fast. About half an hour after the account was activated that same day, I received the first blocked amount, and even the second and third payouts also arrived on the same day.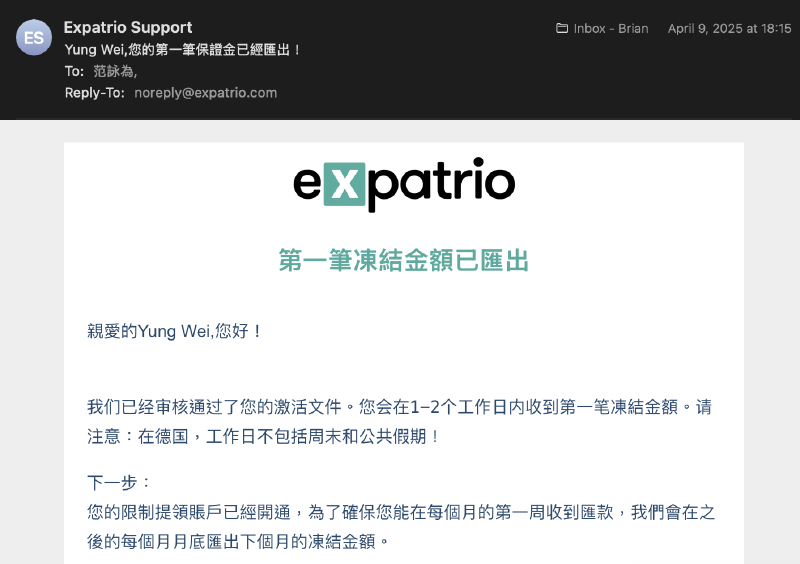
▲ First blocked amount payout notification (March) Later monthly payouts
25th of every month
After that, payouts were sent on the 25th of every month, so there was no need to worry about living expenses not arriving on time.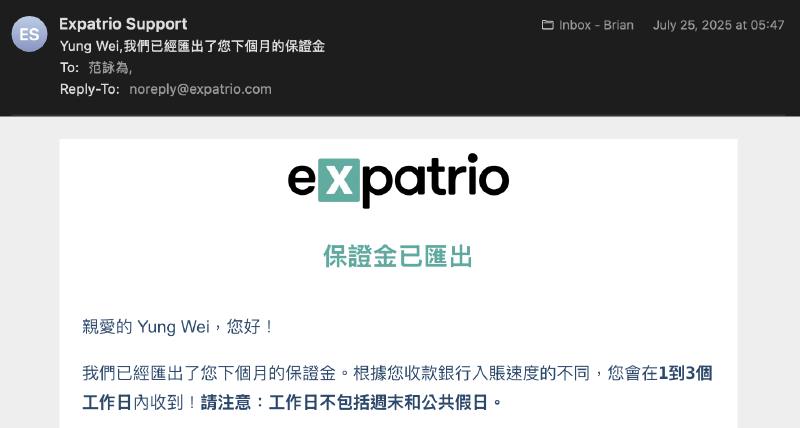
▲ Final blocked amount payout (September) plus remaining buffer payout notification
4. Activate Public Health Insurance#
The last step was the TK public health insurance that came with the Expatrio package. After arriving in Germany and completing school enrollment, you can activate it through the Expatrio App by going to the Activate TK page and filling in the following information:
- German Bank Account IBAN & BIC: used for the monthly public insurance deduction
- Certificate of Enrollment: in my case, I updated my German address in TUMonline and then downloaded it
- German Address
- German Phone Number: I used Fraenk
After activating public insurance, you’re supposed to receive a digital ISIC international student card too. But I waited forever and only got it much later, so honestly it almost felt like it didn’t exist (?
If you’re interested, you can also check out this article: Student ID, ISIC, ESN Card: The Three International Student Cards You Need for Exchange in Europe
Upload the required information
April 10
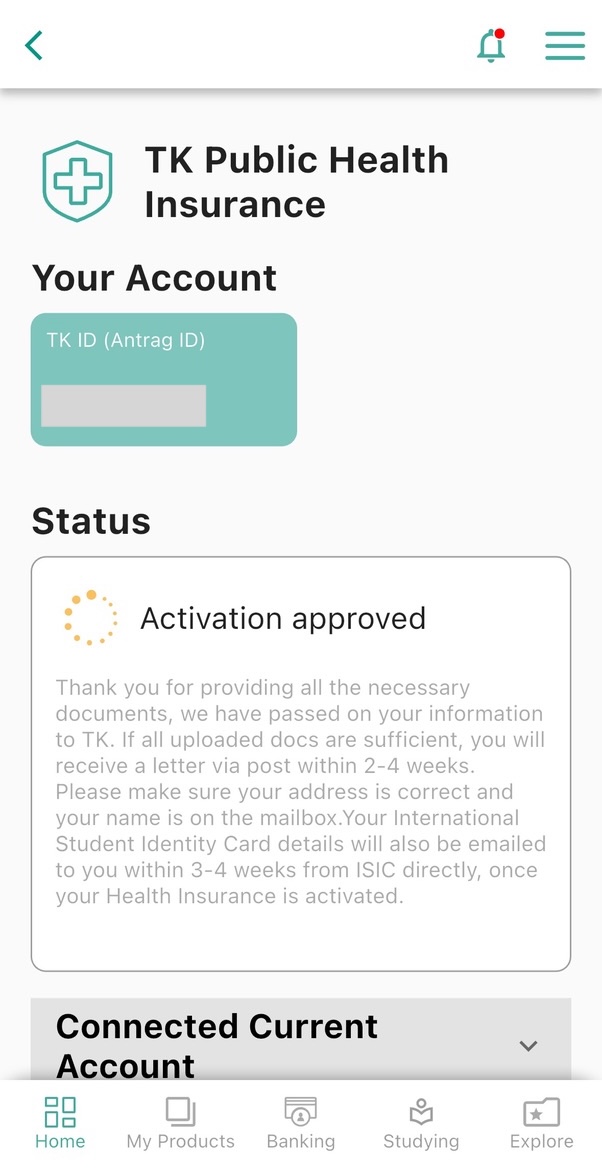
After uploading everything, I received the email below and then just had to wait for review.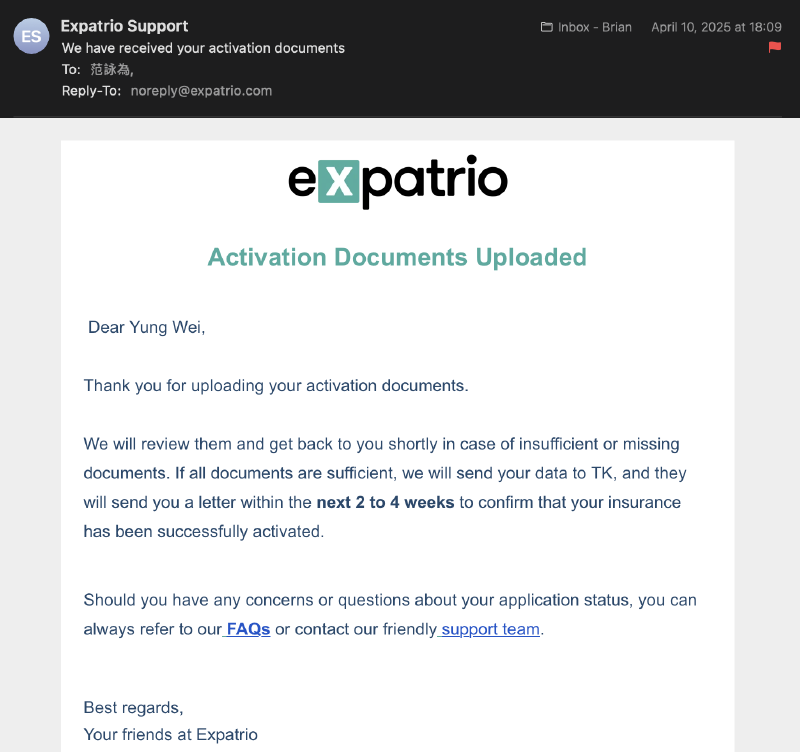
▲ Status update after upload
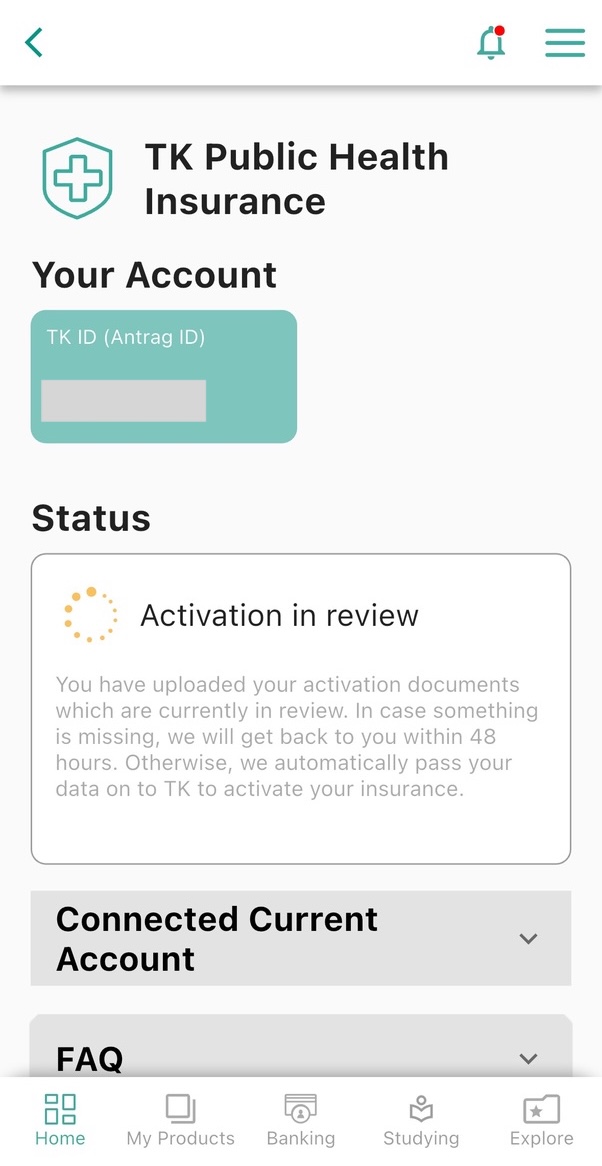
The TK public insurance status in the Expatrio App also updates step by step, from the in-progress status shown on the left to the completed activation status shown on the right.
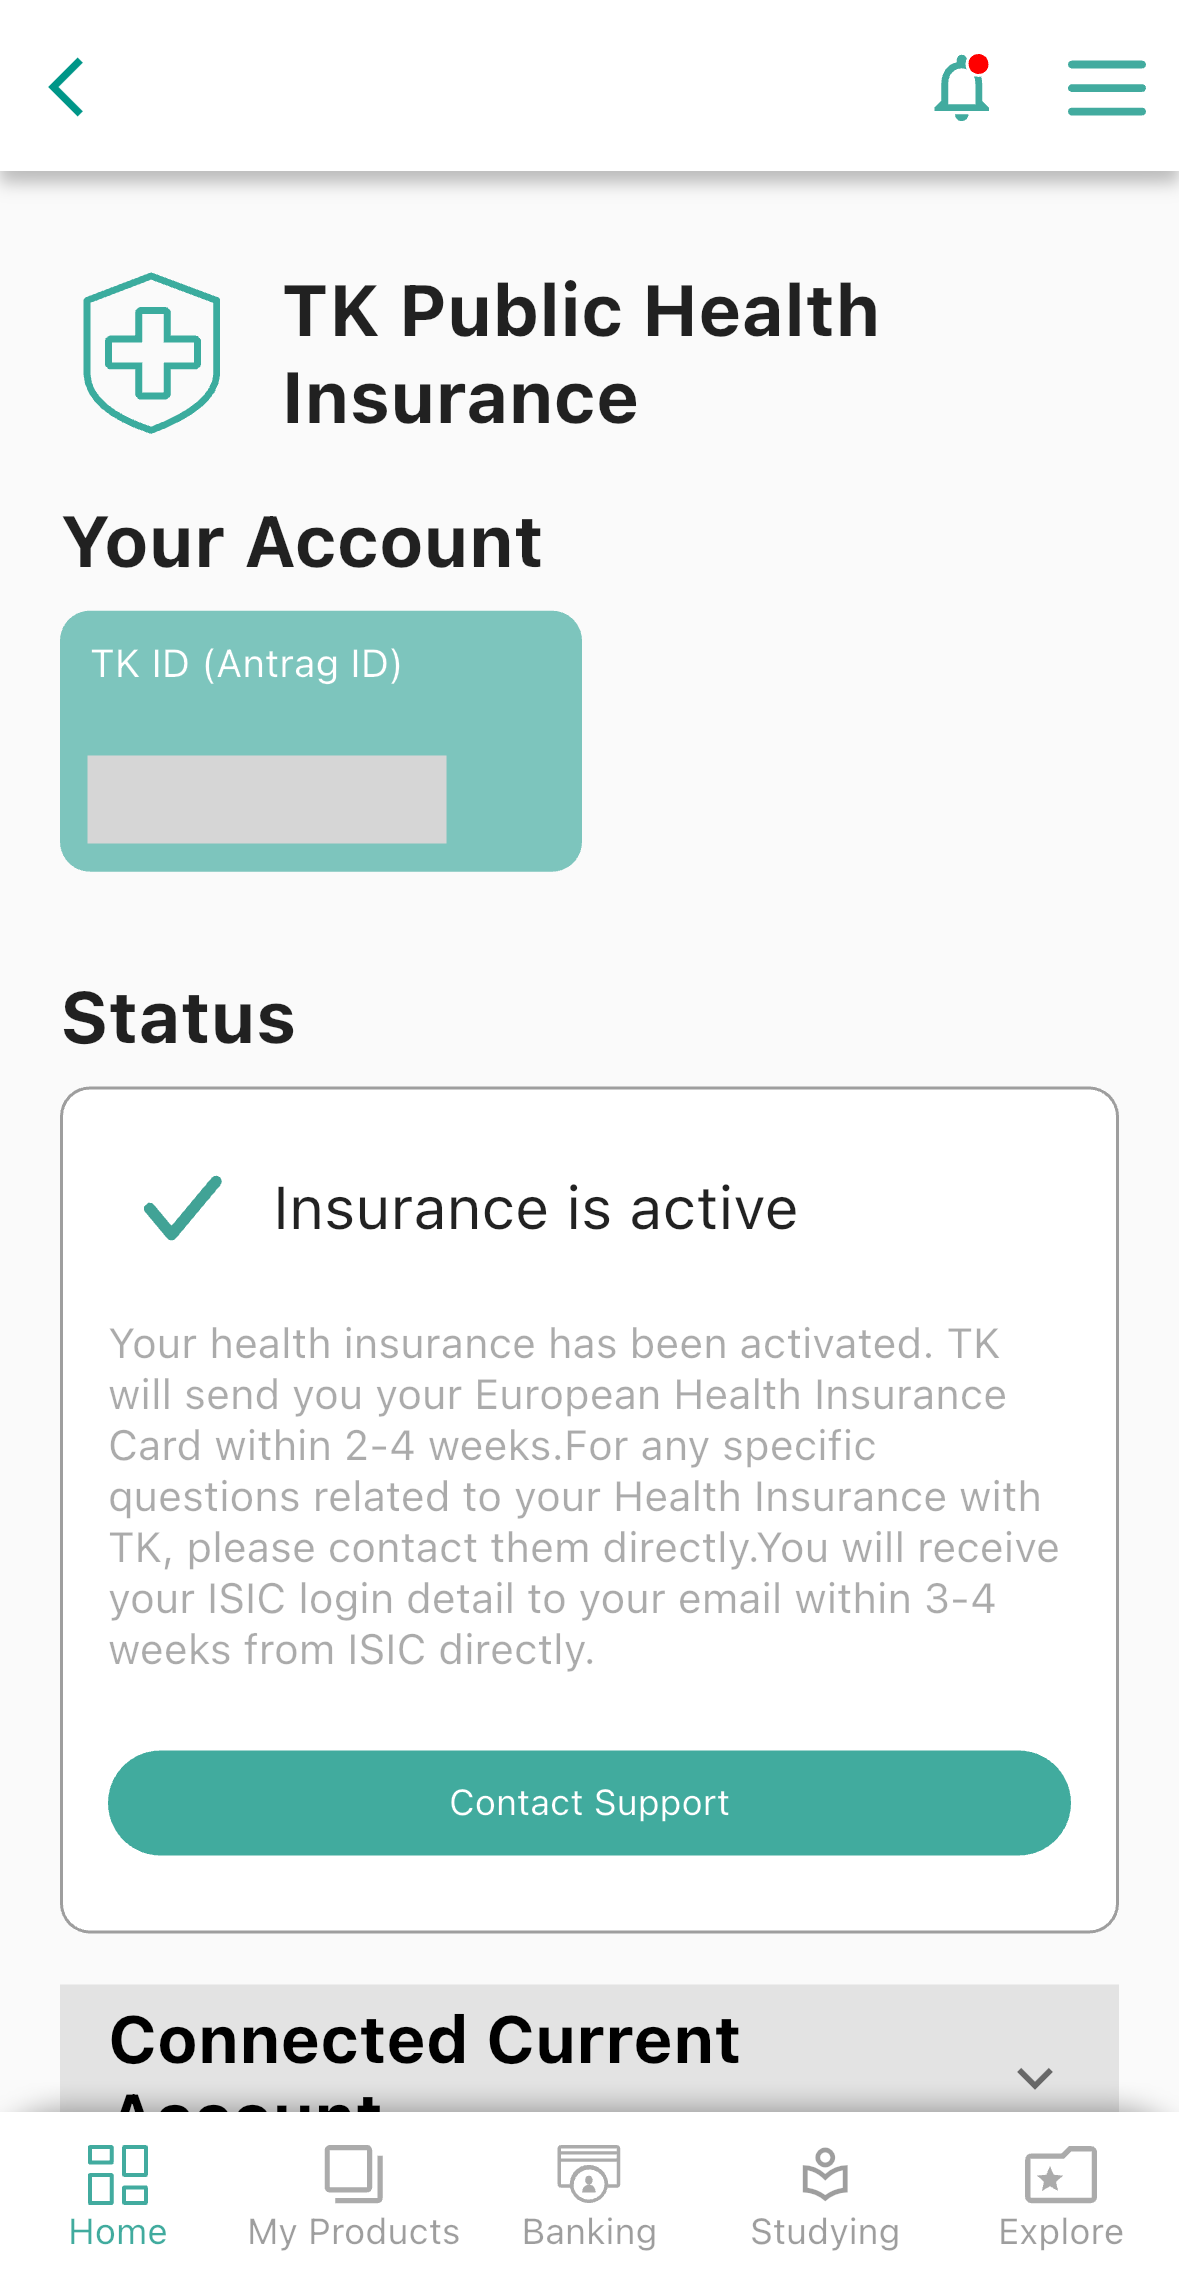
Received the TK activation success email
April 11
The email explains that physical mail and an activation code will be sent later (for registering your TK online account). You’ll also receive the EHIC European health insurance card after a while, while the ISIC will be sent separately by email.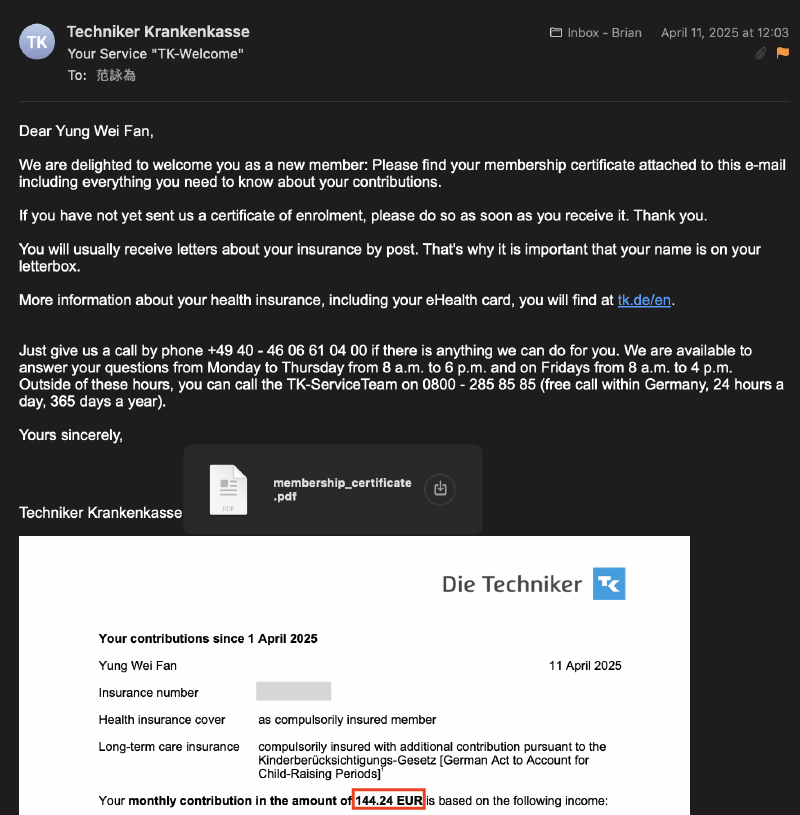
▲ TK activation success email
Even though I already knew student public insurance wasn’t cheap, seeing the actual monthly premium of 144 euros still felt kind of expensive. But switching to private insurance is more complicated, so I ended up staying with public insurance. If you want to make better use of your public insurance benefits, I’d also really recommend considering the HPV vaccine, which is fully covered by public insurance. For the full experience, you can check this post 👉 Germany TK HPV Vaccine Guide.
Received physical mail
April 15
Over the next few days, I received several physical letters, including printed copies of the four documents mentioned in the earlier email, instructions for uploading a profile photo for the health insurance card, bank account binding confirmation, and a notice containing my personal insurance number (**Versicherungsnummer**). I’d recommend keeping the insurance number letter safe.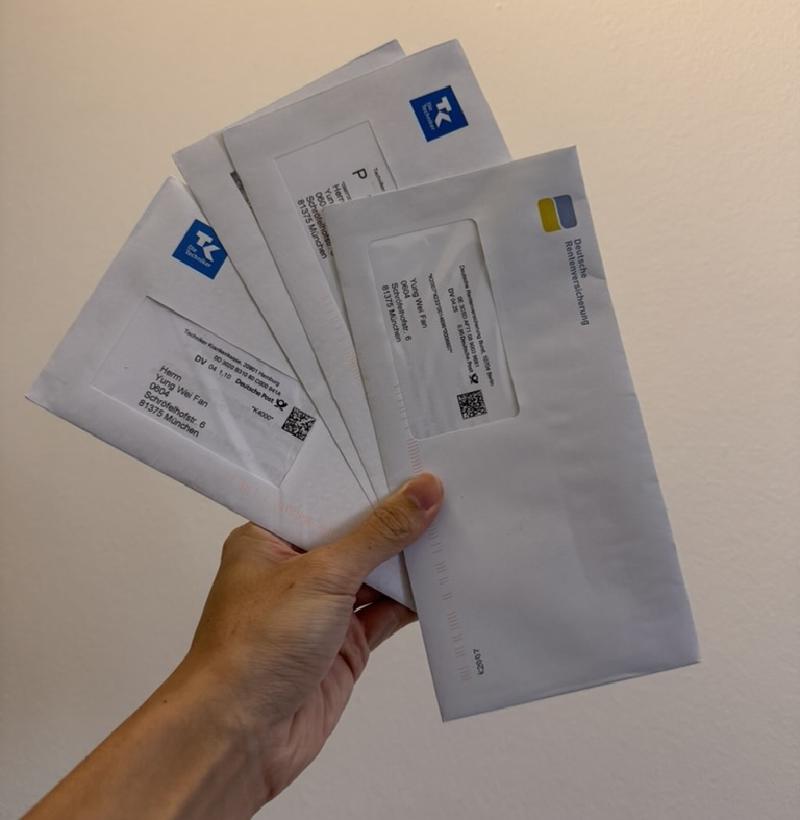
▲ So many letters… Received the Activation Code letter
April 21
To register for TK, you need both the activation code and the ten-digit insurance number printed on the physical card itself, not the personal insurance number (**Versicherungsnummer**) from the earlier letter. So at this point, you still need to wait for the actual card to arrive.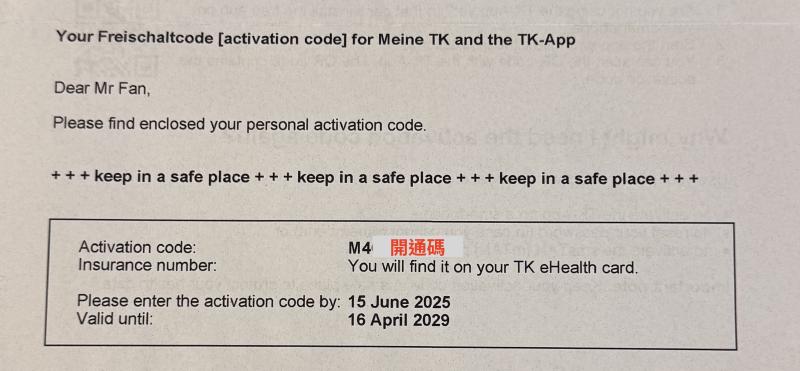
▲ Physical Activation Code letter Received the physical EHIC insurance card
April 29
You can then download the TK App (it has an English interface built in), and use the card number plus the activation code you received earlier to complete registration. The whole process was pretty smooth, and I didn’t run into any issues.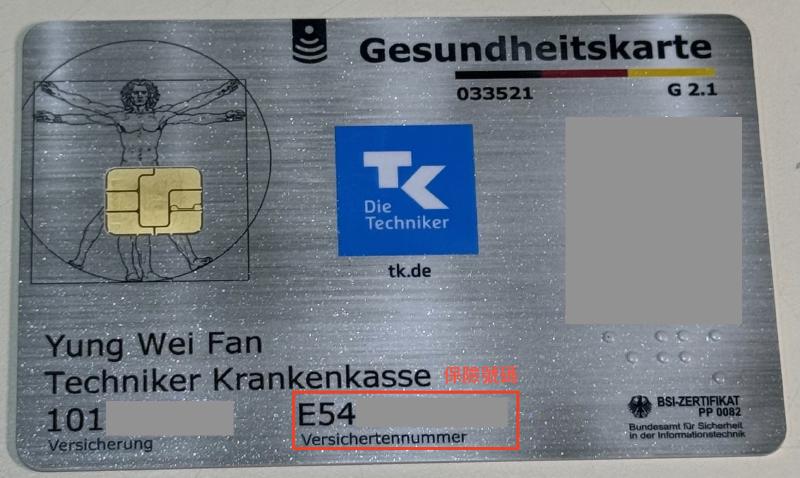
▲ TK insurance card 
▲ TK App Apply for the €69 cashback
May 8
After public insurance is activated, you’ll receive an email saying that you can claim the 69 euro cashback included in the Expatrio package. The money showed up about a week later.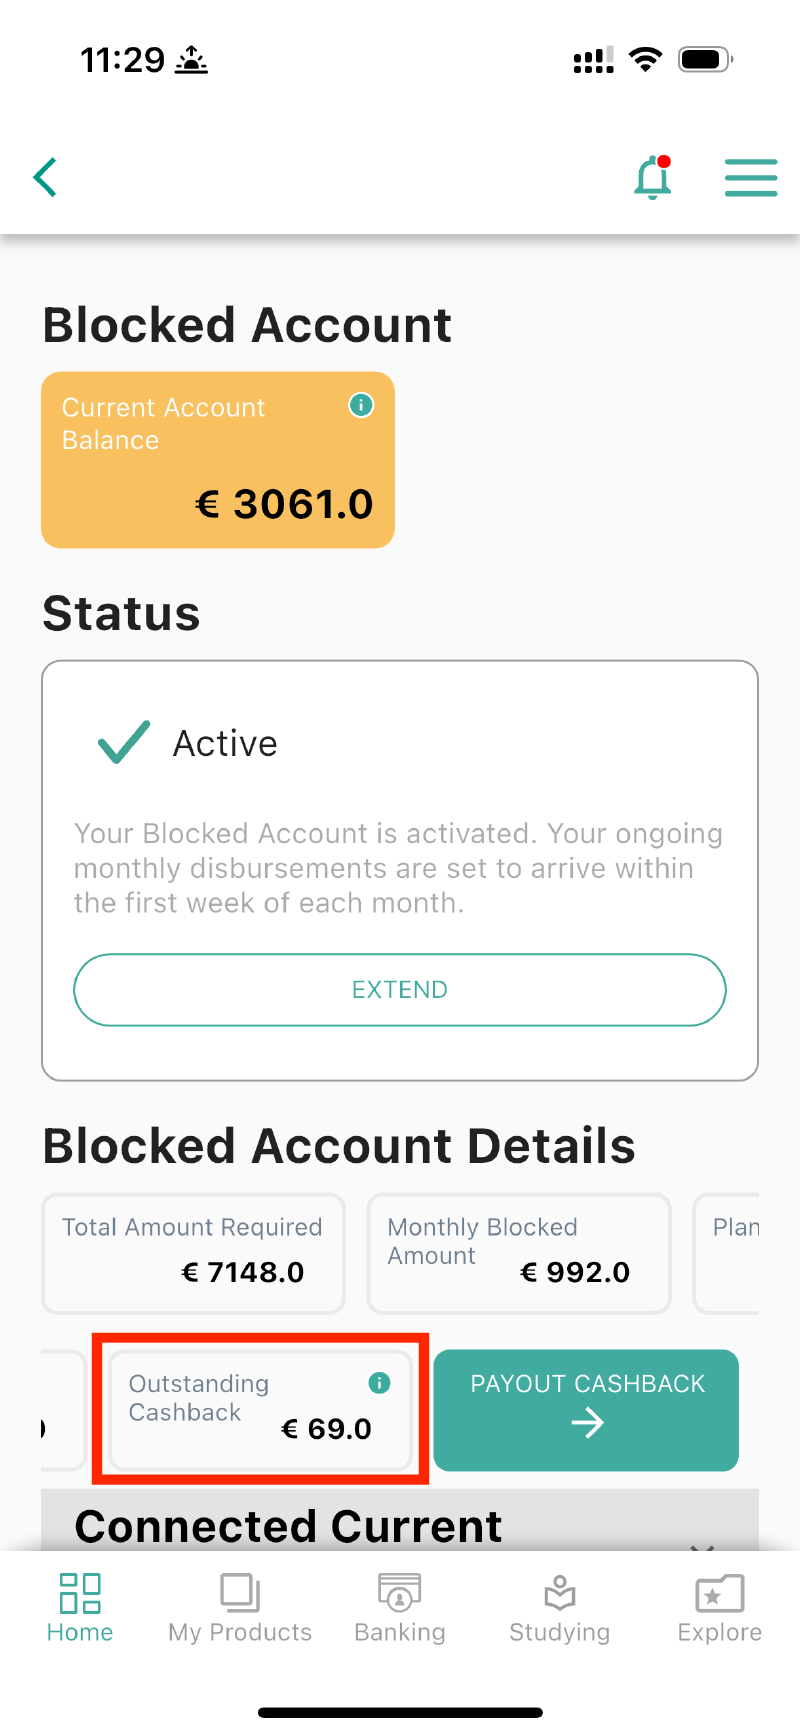
▲ Click Cashback Received the ISIC digital student card email
June 12
After waiting a really long time, I finally got the ISIC student card email. After downloading the app, the activation process was actually fast and simple, but in reality I almost never used it XD.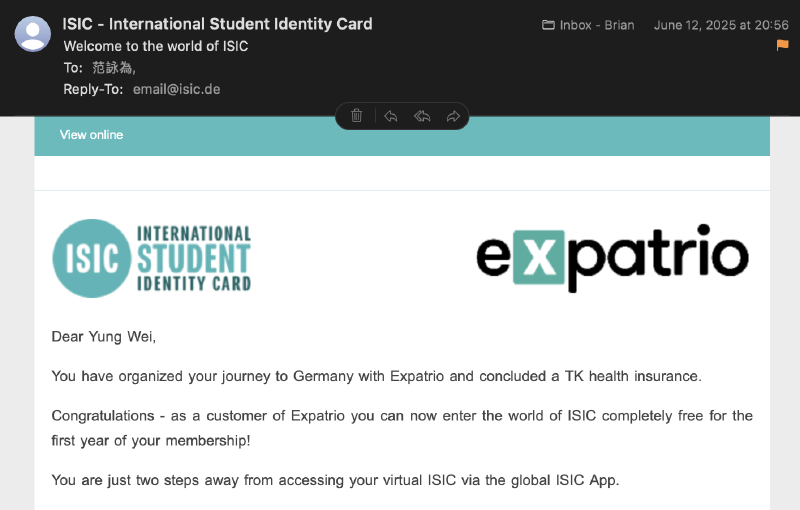
▲ ISIC email
🔗 Reference Links#
For Anmeldung, you can also check other people’s experiences here:
- 慕尼黑市政廳登記住址(入籍教學)Anmelden簡單迅速!
- 德國 Anmeldung 入籍教學 | 慕尼黑(München)篇 – 留學計畫
- 德國交換 | 入籍證明 Anmeldung - 德國鬼的180天養成計畫 - Medium
For blocked accounts, you can also check these experiences:
- 【德國交換學生】初到德國篇 | 德國手機號碼、德國入籍、N26開戶、開通Blocked Account、開通保險TK
- 【德國交換學生】德國簽證申請 | 德國簽證預約、限制提領帳戶 | 2023德簽申請全紀錄 文件準備 & 經驗細節
For TK public insurance, you can also check this experience: