
In the previous article, I talked about the basic ideas behind building a static website.
👉 Hugo × GitHub Pages – Part 0: Core Concepts and Website Building Blocks
In this article, we will create a Hugo project, set up a theme, and build our very first Markdown-based webpage locally.
1. What Is Hugo?#

Hugo is a static site generator (SSG) that converts your written Markdown content into a complete website consisting of HTML, CSS, and JavaScript files that can be directly published online.
Markdown content + theme + configuration
↓
Hugo builds
↓
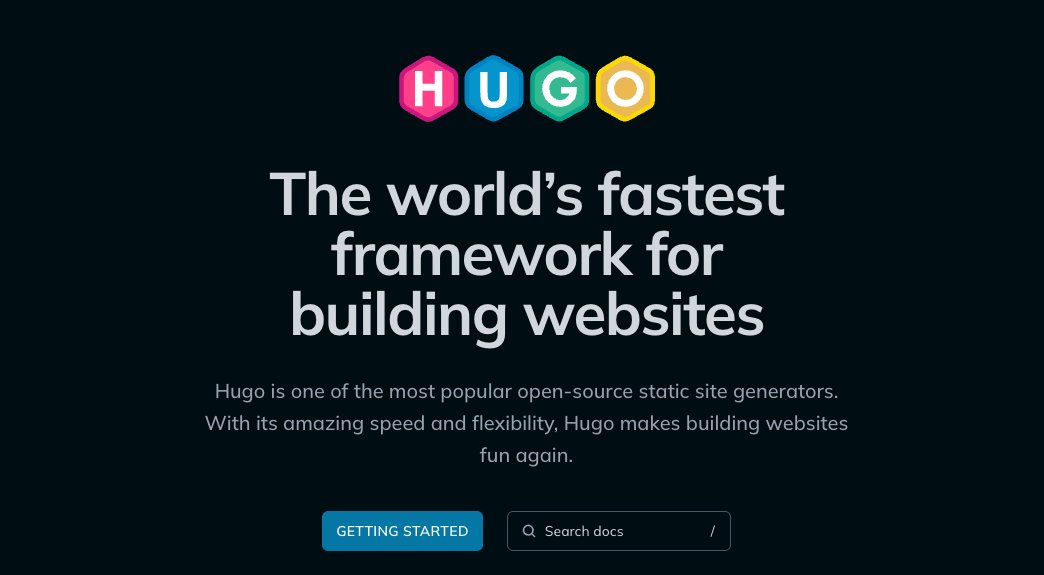
A complete static website (HTML / CSS / JS)On the official Hugo website, Hugo describes itself with this line:
The world’s fastest framework for building websites
Honestly, when I first saw this, my immediate reaction was:
That’s a bold claim.
But after actually using it, you’ll realize this isn’t just marketing language.
Hugo’s biggest strengths are that it is fast, simple, and does not rely on a heavy frontend ecosystem.
It is a single binary executable. There’s no need for Node.js, no need to install a large number of packages. As long as your content and configuration are ready, Hugo can quickly generate the entire website.
Compared to tools like Hexo or Jekyll, which require additional runtime environments, Hugo is much simpler to install and maintain, with very few dependency-related issues.
2. Creating a Local Website with Hugo#
I’m using macOS in this guide. For Windows users, please refer to the official documentation.
(1) Prerequisites#
We’ll use Homebrew to install Hugo. If you’ve never used Homebrew before, install it first by opening Terminal and running:
/bin/bash -c "$(curl -fsSL https://raw.githubusercontent.com/Homebrew/install/HEAD/install.sh)"
brew update && brew upgrade && brew cleanup
If you don’t have Git installed, install it as well (you can proceed without Git, but things will get much harder later):
brew install gitInstall Hugo:
brew install hugoCheck the installation by running hugo version. If you see version information, Hugo is successfully installed:
hugo versionhugo v0.152.2+extended+withdeploy darwin/arm64 BuildDate=2025-10-24T15:31:49Z VendorInfo=brew(2) Create a Hugo Project#
Create a new project using hugo new site <project-name>:
hugo new site mysite
cd mysite
You should now see the following directory structure:
mysite/
|--- archetypes/
|--- assets/
|--- content/   # Markdown pages and posts
|--- data/
|--- i18n/
|--- layouts/
|--- static/
|--- themes/    # Themes are stored here
|--- hugo.toml  # Main configuration file
We’ll go into more detail about these directories and advanced Hugo settings later. For now, just remember:
- Themes live under
themes/ - Pages and posts (Markdown files) live under
content/
Download a Hugo Theme#
Before the site can render properly, we need to choose a theme. You can browse available themes on Hugo Themes. Popular choices include PaperMod, Stack, and Blowfish.
I personally use Blowfish. You can preview it on their Demo Page.
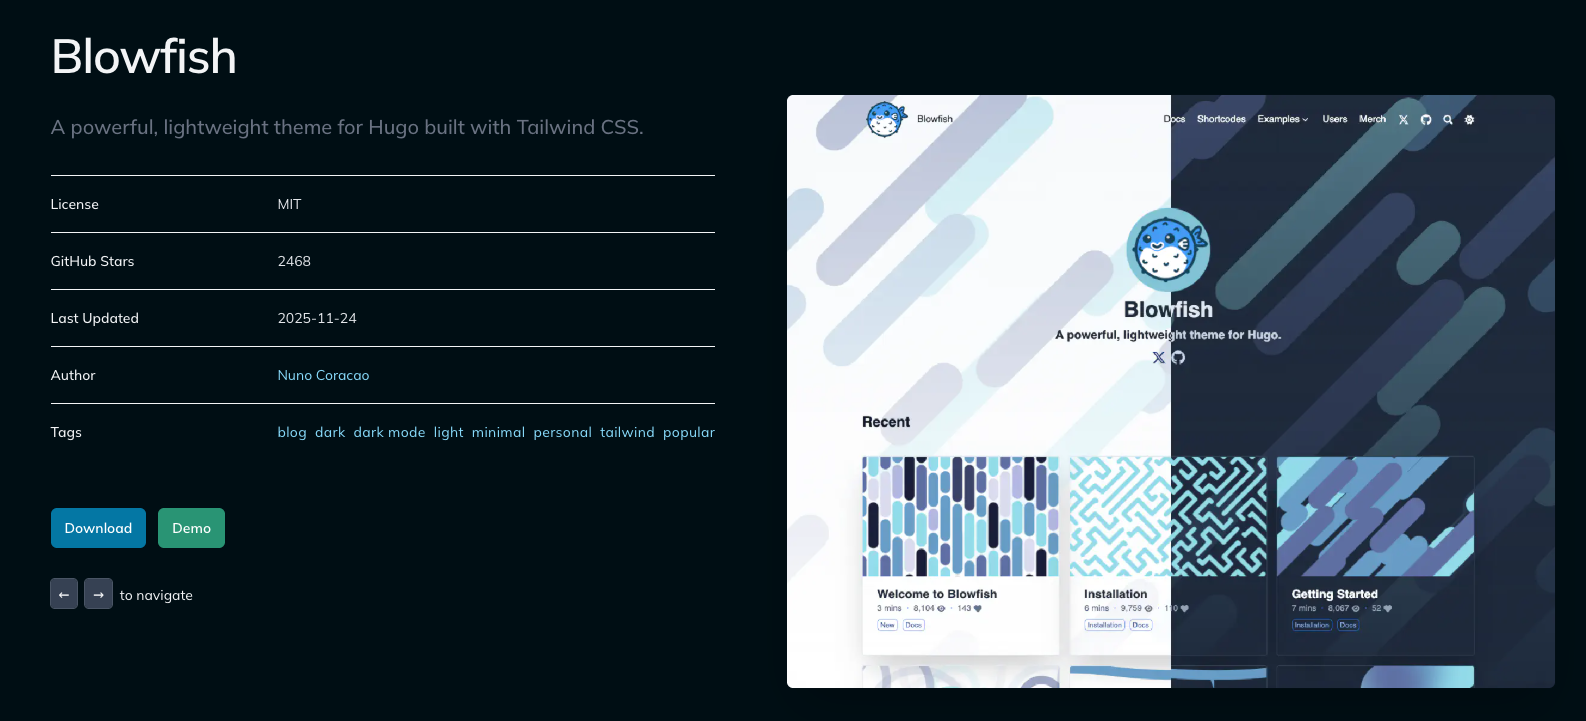
You can further customize the theme later to create your own visual style. If you’re not sure which one to choose, Blowfish is a solid starting point. I plan to write a dedicated article about its customization options in the future.
Below, I’ll use Blowfish as an example. The installation process is similar for most themes, but it’s always recommended to follow the theme’s official documentation. The Blowfish Installation Guide is particularly clear.
Inside the mysite/ directory, run:
git init
git submodule add -b main https://github.com/nunocoracao/blowfish.git themes/blowfish

# Use this command in the future to update the theme
# git submodule update --remote --merge
Next:
rm hugo.toml   # Remove Hugo’s default config file
cp -r themes/blowfish/config config
This creates a new config/ directory. Open config/_default/hugo.toml and uncomment the following line (not the one under themes/blowfish/config/_default/):
theme = "blowfish" # UNCOMMENT THIS LINE`Create Your First Post#
Now let’s create our first post using hugo new content <path>:
hugo new content posts/my-first-post.mdThe new file will appear under the content/ directory.
Inside the file, you’ll see metadata wrapped in +++. We’ll explain this in more detail later. For now, let’s simply write some Markdown content (If you’ve never written Markdown before, you can ask ChatGPT to generate a sample, and there are also plenty of resources available online). For example:
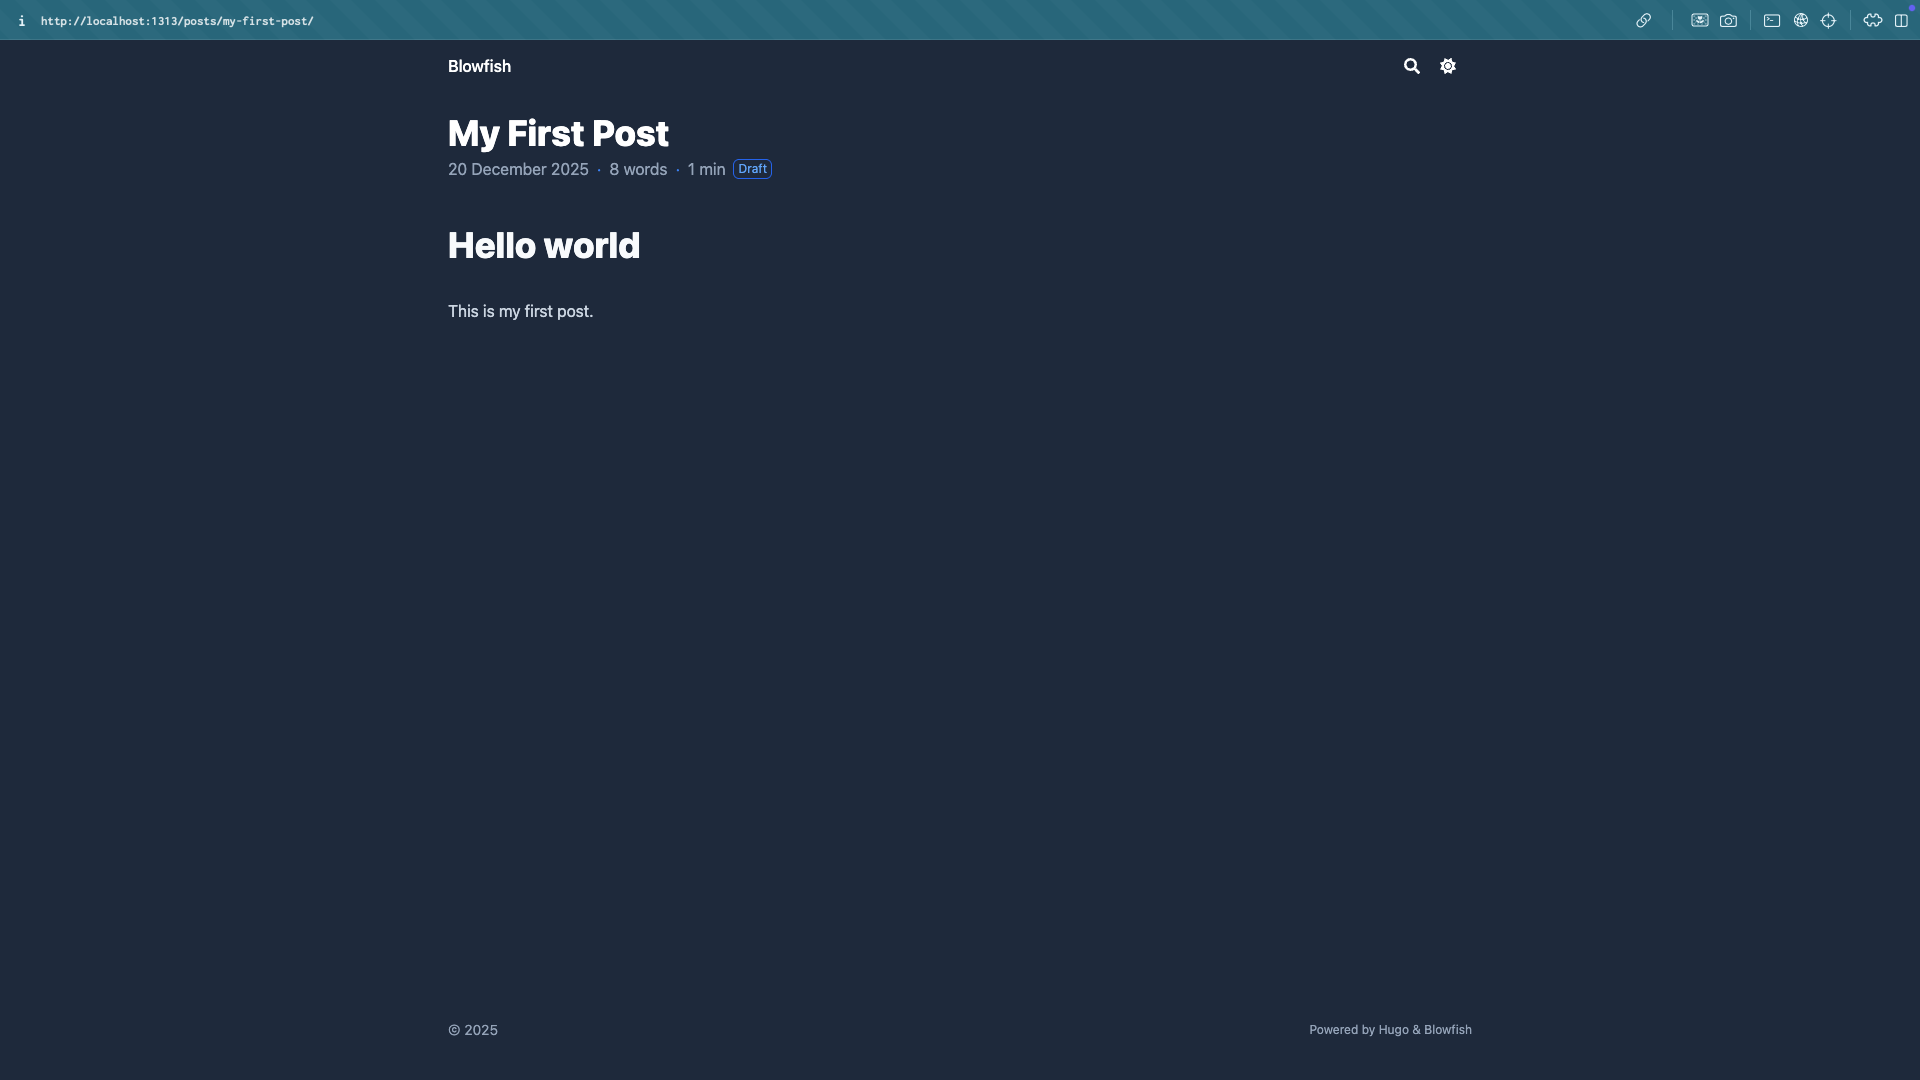
+++
date = '2025-12-20T17:21:59+08:00'
draft = true
title = 'My First Post'
+++
# Hello world

This is my first post.
Now let’s see what the site looks like.
(3) Local Preview#
At this stage, we can start building and previewing the site. Here are the three most important Hugo commands:
| Command | Purpose | What It Does | Common Use Case |
|---|---|---|---|
hugo | Production build | Generates the full static site into public/ | Before deployment, GitHub Actions |
hugo server | Local development | Starts a local server with live reload | Writing content, layout tweaking |
hugo server -D | Preview drafts | Includes draft = true content | Reviewing unpublished posts |
Since our post is marked as draft = true, we need to run:
hugo server -DThe generated public/ directory is a complete static website!
Based on the output, open the local URL in your browser—usually http://localhost:1313/:
Web Server is available at http://localhost:1313/ (bind address 127.0.0.1)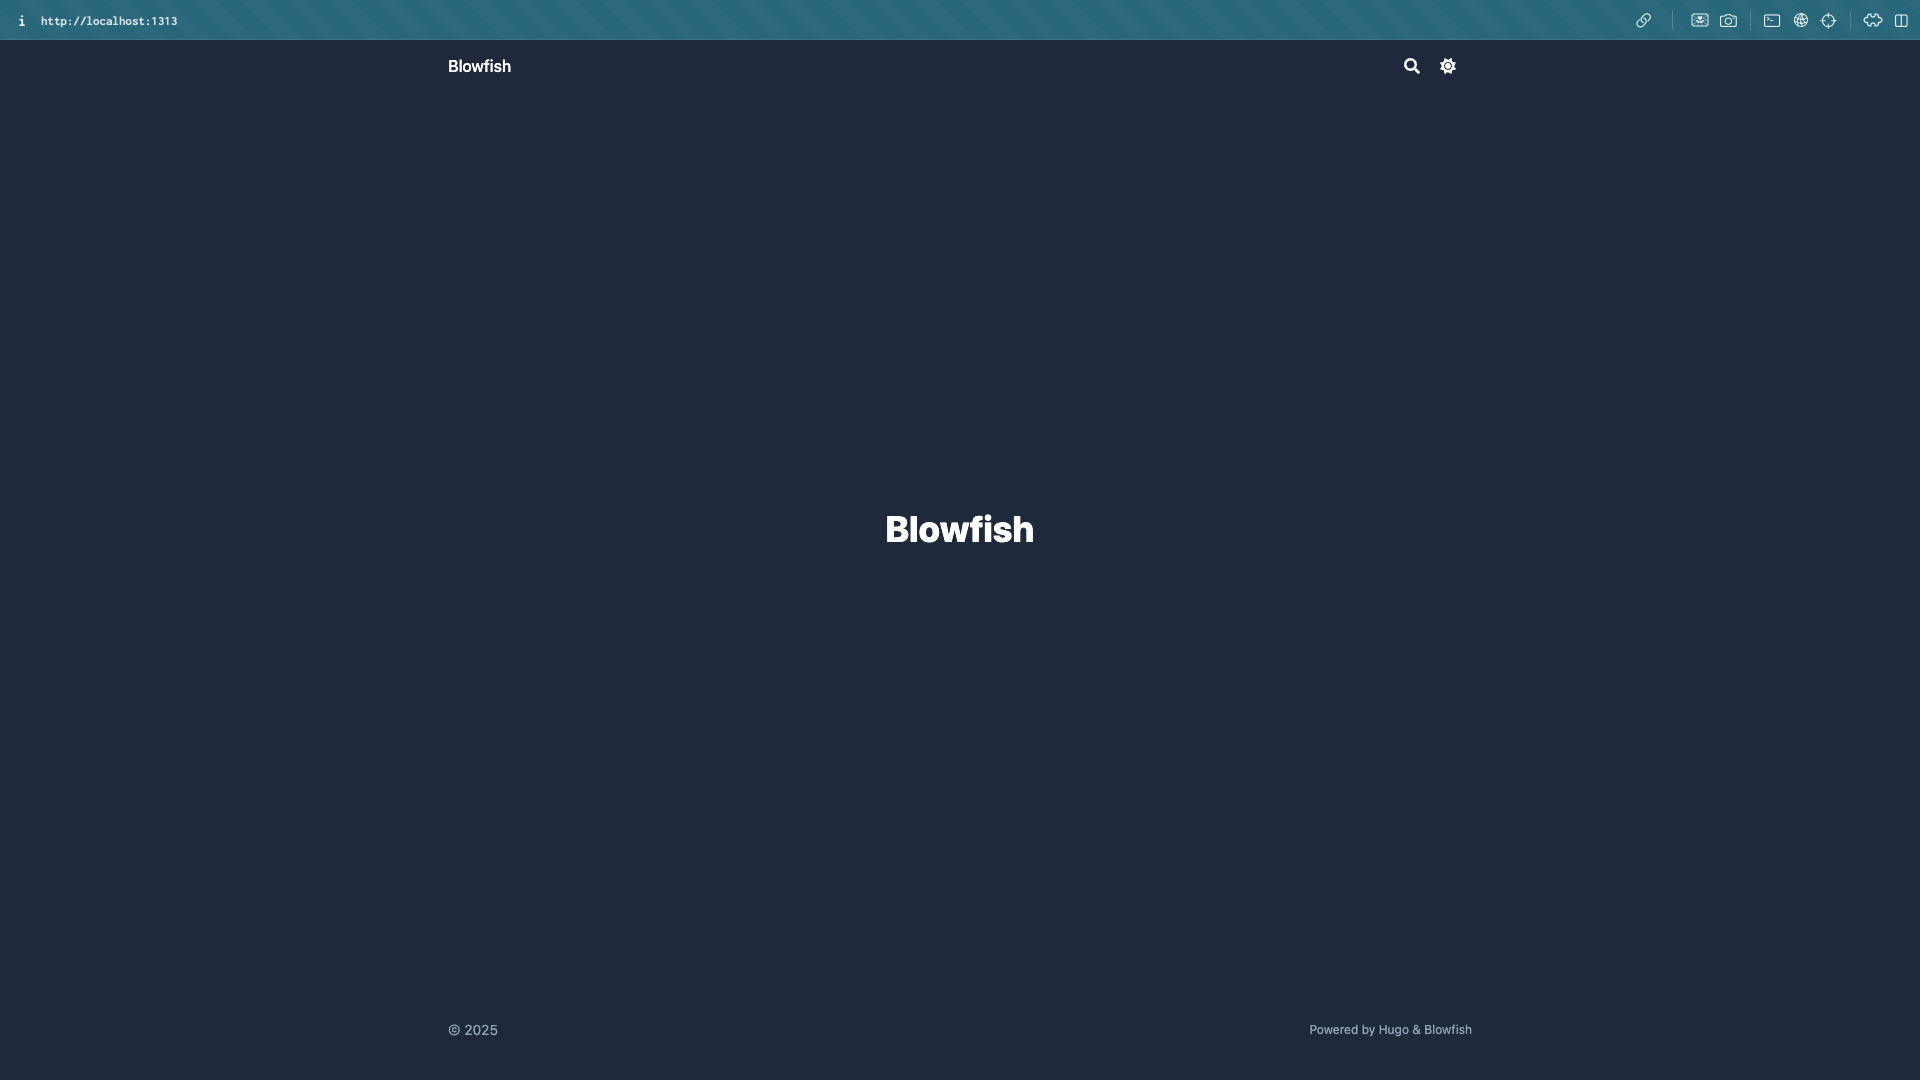
Because our post is under content/posts/, navigating to http://localhost:1313/posts/ will show the newly created article.
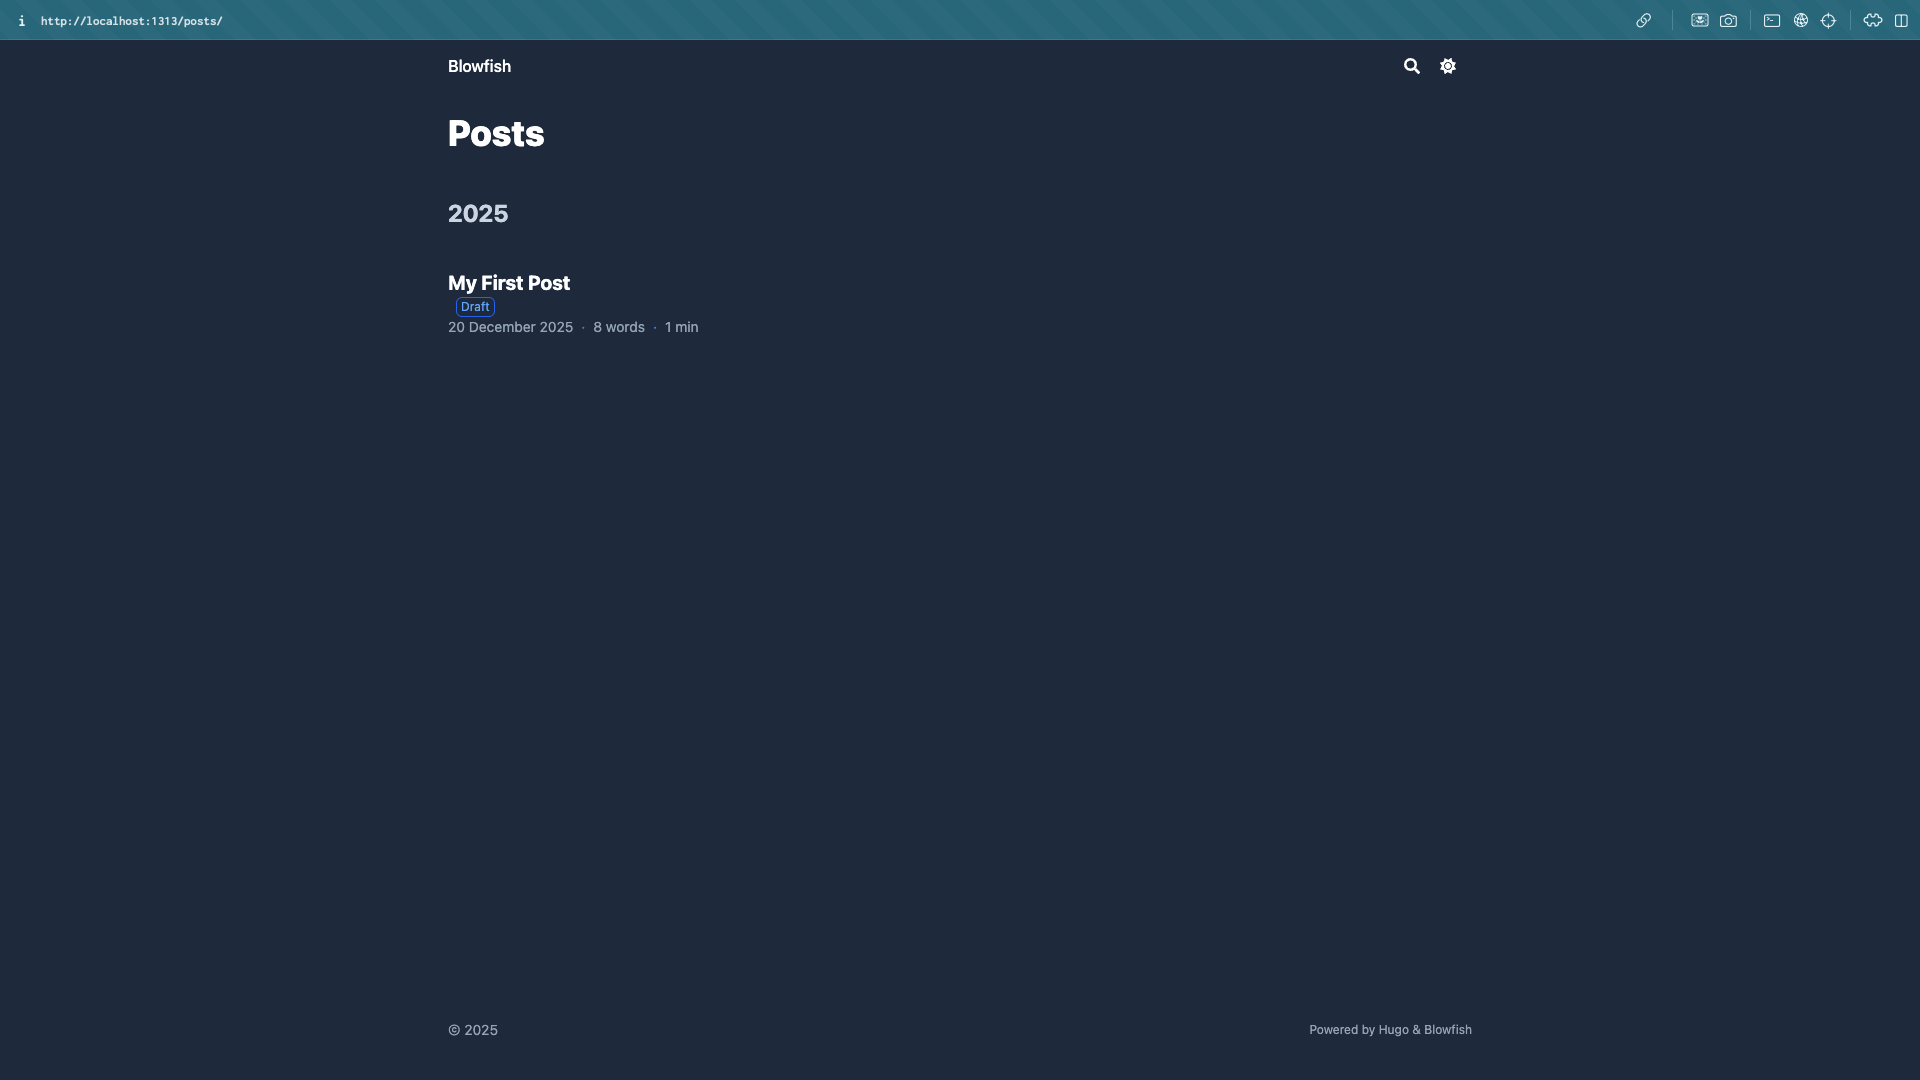
Try editing the post and saving the file—you’ll see the preview update instantly, which makes writing extremely convenient.
In the next article, we’ll complete the first real deployment, automatically deploying the Hugo site to GitHub Pages.
👉 Hugo × GitHub Pages – Part 2: First Deployment with GitHub Actions